
Creating a Countdown Timer with Tailwind CSS and JavaScript
In this tutorial, we'll create a simple countdown timer using Tailwind CSS for styling and JavaScript for functionality. This project is perfect for beginners looking to practice their HTML, CSS, JS


Step 1: Setting Up the Project
First, create a new HTML file and include the Tailwind CSS CDN in the <head> section of your document.
<!DOCTYPE html>
<html lang="en">
  <head>
    <meta charset="UTF-8" />
    <meta name="viewport" content="width=device-width, initial-scale=1.0" />
    <title>Countdown Timer</title>
    <link
      href="https://cdn.jsdelivr.net/npm/tailwindcss@2.2.19/dist/tailwind.min.css"
      rel="stylesheet"
    />
  </head>
  <body
    class="bg-red-800 text-gray-200 flex items-center justify-center min-h-screen"
  >
    <div class="text-center">
      <div id="timer" class="px-2 flex gap-2 justify-center uppercase">
        <div>
          <div
            id="days"
            class="bg-black px-6 py-1 text-5xl shadow-md rounded-l-lg"
          ></div>
          <small class="px-4">dd</small>
        </div>
        <div class="text-black text-5xl">:</div>
        <div>
          <div id="hours" class="bg-black px-6 py-1 shadow-md text-5xl"></div>
          <small class="px-4">hh</small>
        </div>
        <div class="text-black text-5xl">:</div>
        <div>
          <div id="minutes" class="bg-black px-6 py-1 shadow-md text-5xl"></div>
          <small class="px-4">mm</small>
        </div>
        <div class="text-black text-5xl">:</div>
        <div>
          <div
            id="seconds"
            class="bg-black text-red-800 px-6 py-1 text-5xl shadow-md rounded-r-lg"
          ></div>
          <small class="px-4">ss</small>
        </div>
      </div>
    </div>
    <script src="script.js"></script>
  </body>
</html>
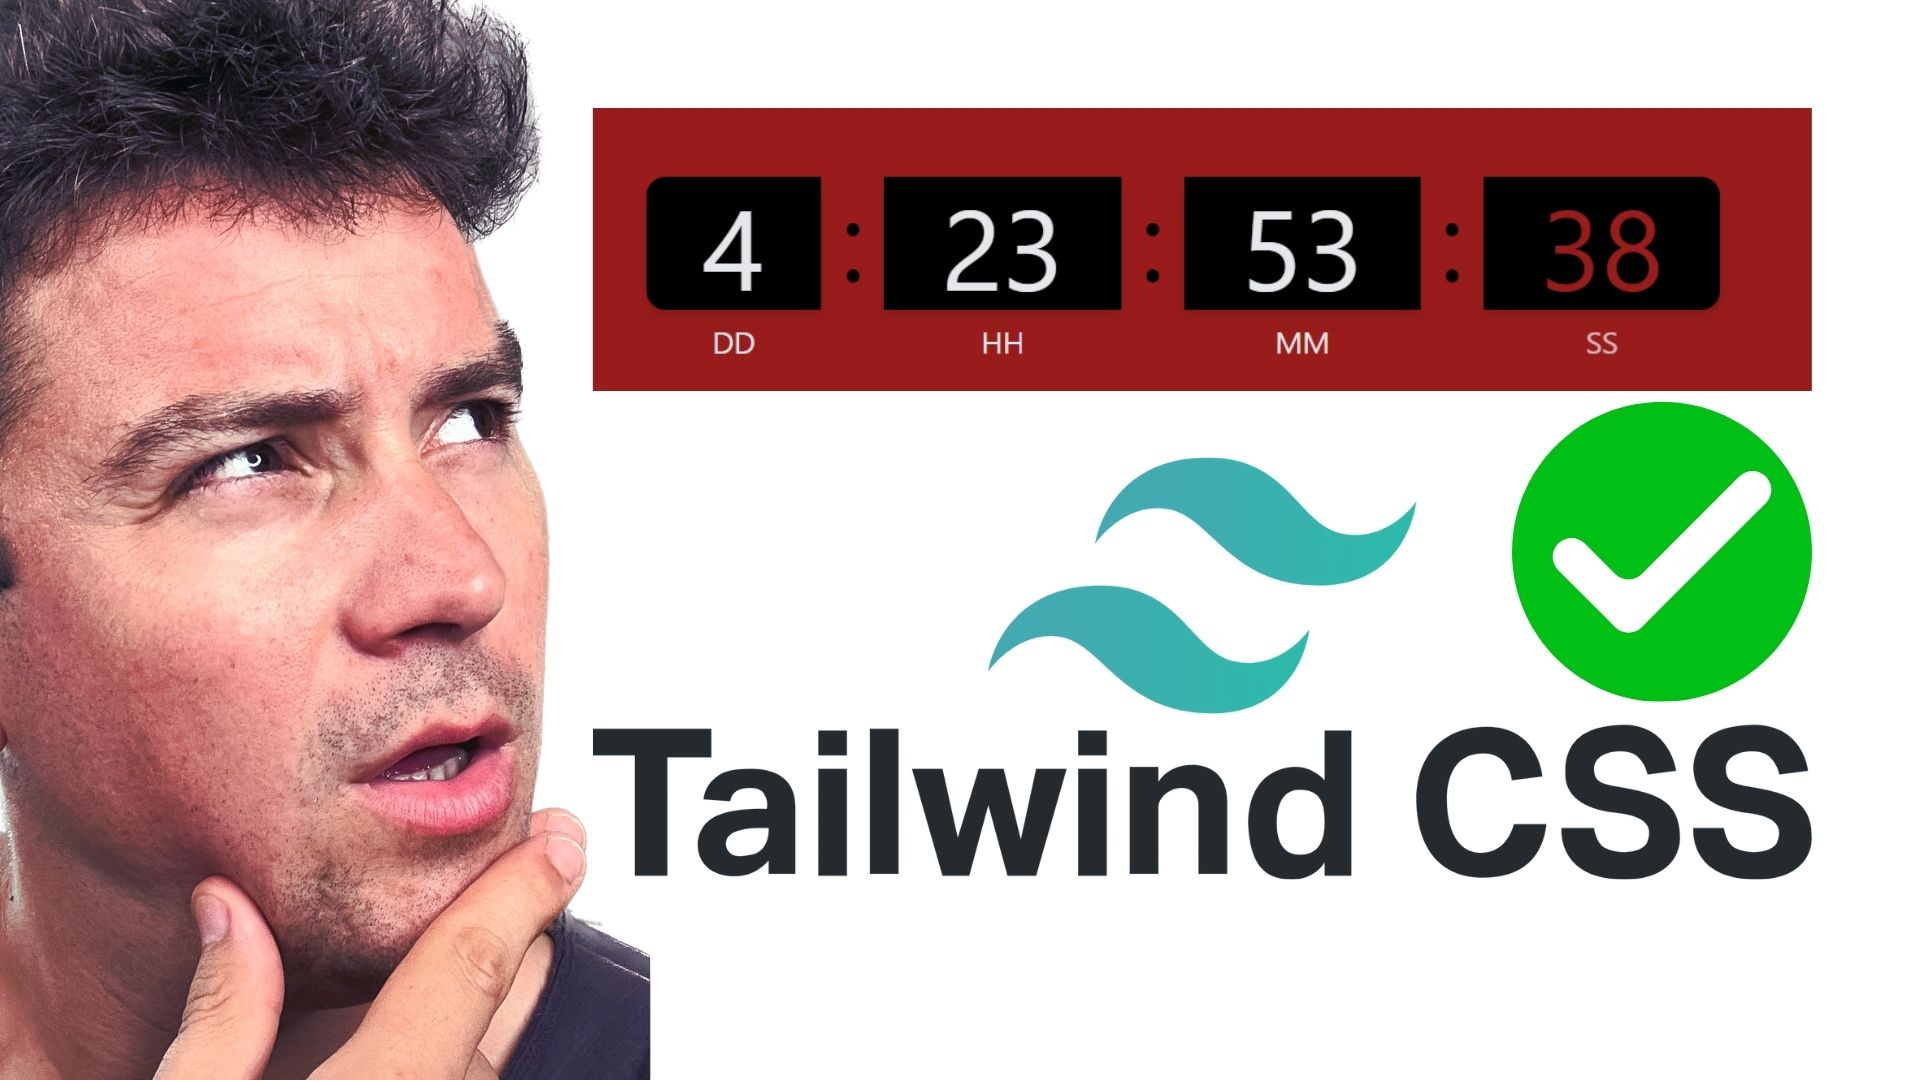
Step 2: Adding Tailwind CSS Classes
We've already added Tailwind CSS classes to style our countdown timer. Here's a breakdown of the classes used:
bg-red-800: Sets the background color to a dark red.text-gray-200: Sets the text color to a light gray.flex,items-center,justify-center: Centers the content both vertically and horizontally.min-h-screen: Ensures the content takes up at least the full height of the screen.text-center: Centers the text.px-2,gap-2,justify-center: Adds padding and spacing between elements.uppercase: Converts text to uppercase.bg-black: Sets the background color to black.px-6,py-1: Adds padding to the elements.text-5xl: Sets the font size to 5xl.shadow-md: Adds a medium shadow to the elements.rounded-l-lg,rounded-r-lg: Rounds the left and right corners of the elements.
Step 3: Adding JavaScript Functionality
Create a new file named script.js and add the following JavaScript code to handle the countdown timer functionality:
// script.js

// Set the date we're counting down to
const countDownDate = new Date("Dec 31, 2024 23:59:59").getTime();

// Update the count down every 1 second
const x = setInterval(function () {
  // Get today's date and time
  const now = new Date().getTime();

  // Find the distance between now and the count down date
  const distance = countDownDate - now;

  // Time calculations for days, hours, minutes and seconds
  const days = Math.floor(distance / (1000 * 60 * 60 * 24));
  const hours = Math.floor(
    (distance % (1000 * 60 * 60 * 24)) / (1000 * 60 * 60)
  );
  const minutes = Math.floor((distance % (1000 * 60 * 60)) / (1000 * 60));
  const seconds = Math.floor((distance % (1000 * 60)) / 1000);

  // Display the result in the respective elements
  document.getElementById("days").textContent = days;
  document.getElementById("hours").textContent = hours;
  document.getElementById("minutes").textContent = minutes;
  document.getElementById("seconds").textContent = seconds;

  // If the count down is over, write some text
  if (distance < 0) {
    clearInterval(x);
    document.getElementById("timer").innerHTML = "EXPIRED";
  }
}, 1000);
Step 4: Testing the Countdown Timer
Open your HTML file in a web browser to see the countdown timer in action. The timer will count down to December 31, 2024, 23:59:59. You can customize the target date by changing the date in the `countDownDate` variable.
Conclusion
Congratulations! You've successfully created a countdown timer using Tailwind CSS and JavaScript. This project demonstrates how to combine Tailwind's utility-first CSS framework with JavaScript to create a functional and visually appealing component. Feel free to customize the styles and functionality to suit your needs.
Happy coding!
Norbert BM